Authentication
Introduction
With each API call you will need to set your API Key to authenticate yourself.
I don't have an API Key, what can I do?
Access your Connectif account and navigate to the API keys section:
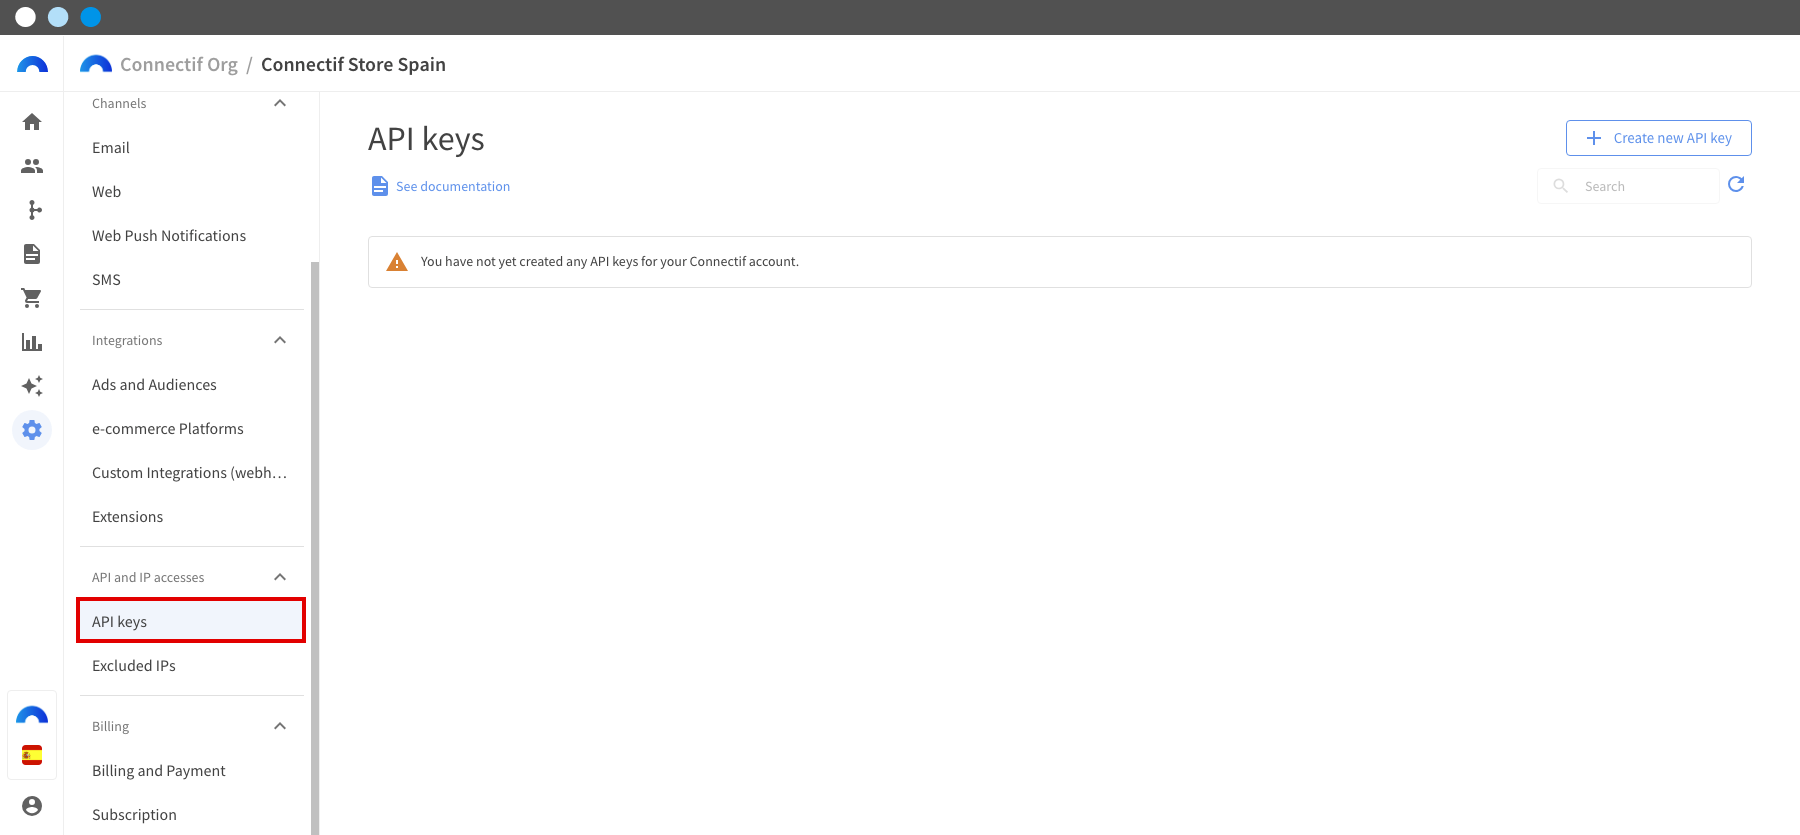
If you do not have any API Key yet, you will see this screen:
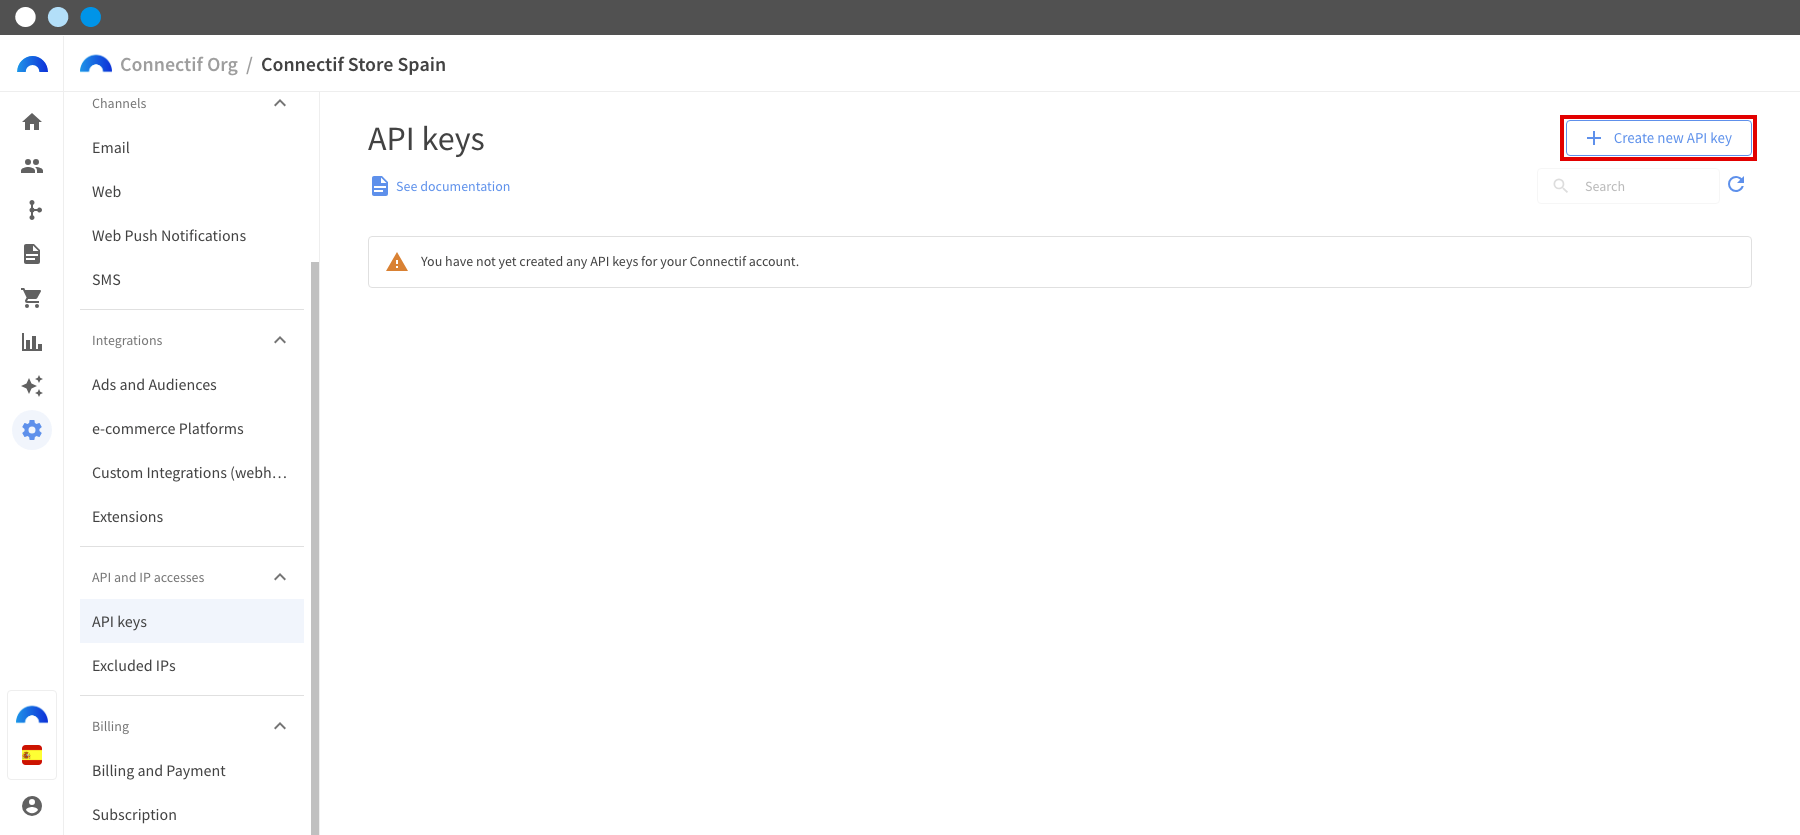
You may click on Create new API Key button in order to create a new API Key. You will be redirected to the API Key creation:
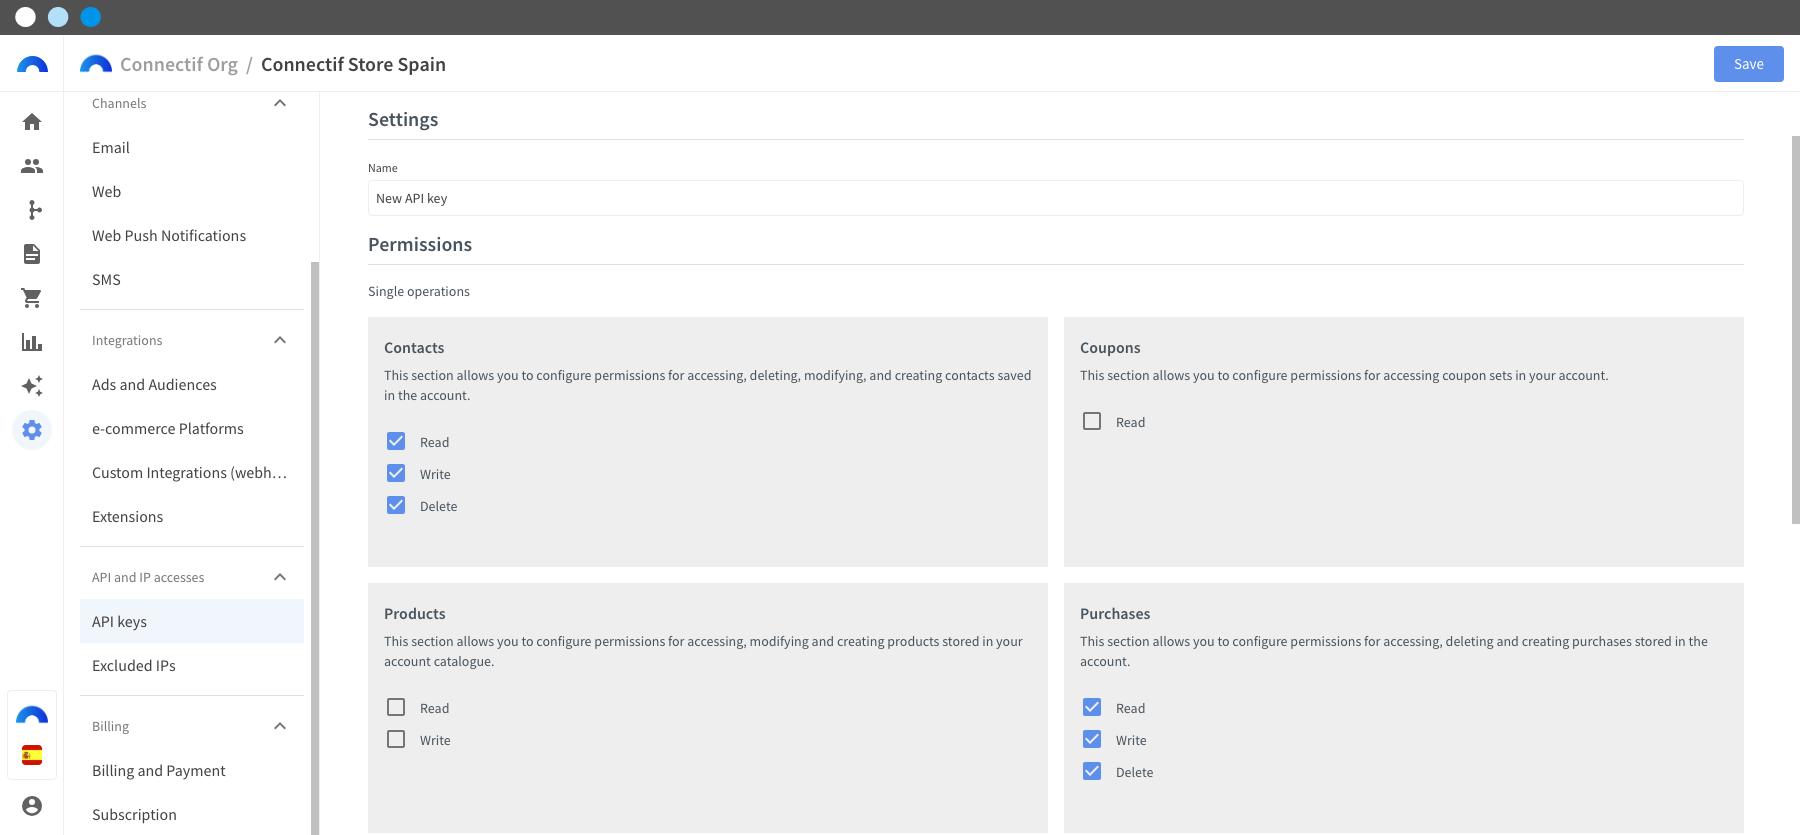
You may enter a name for the new API Key and the desired scopes. F.i. if you are planning on using the API Key to read and update information about Contacts, select the two scopes Read Contacts and Write Contacts.
After clicking on the Save button the new API Key will be created, and you will be redirected to the list of API Keys.
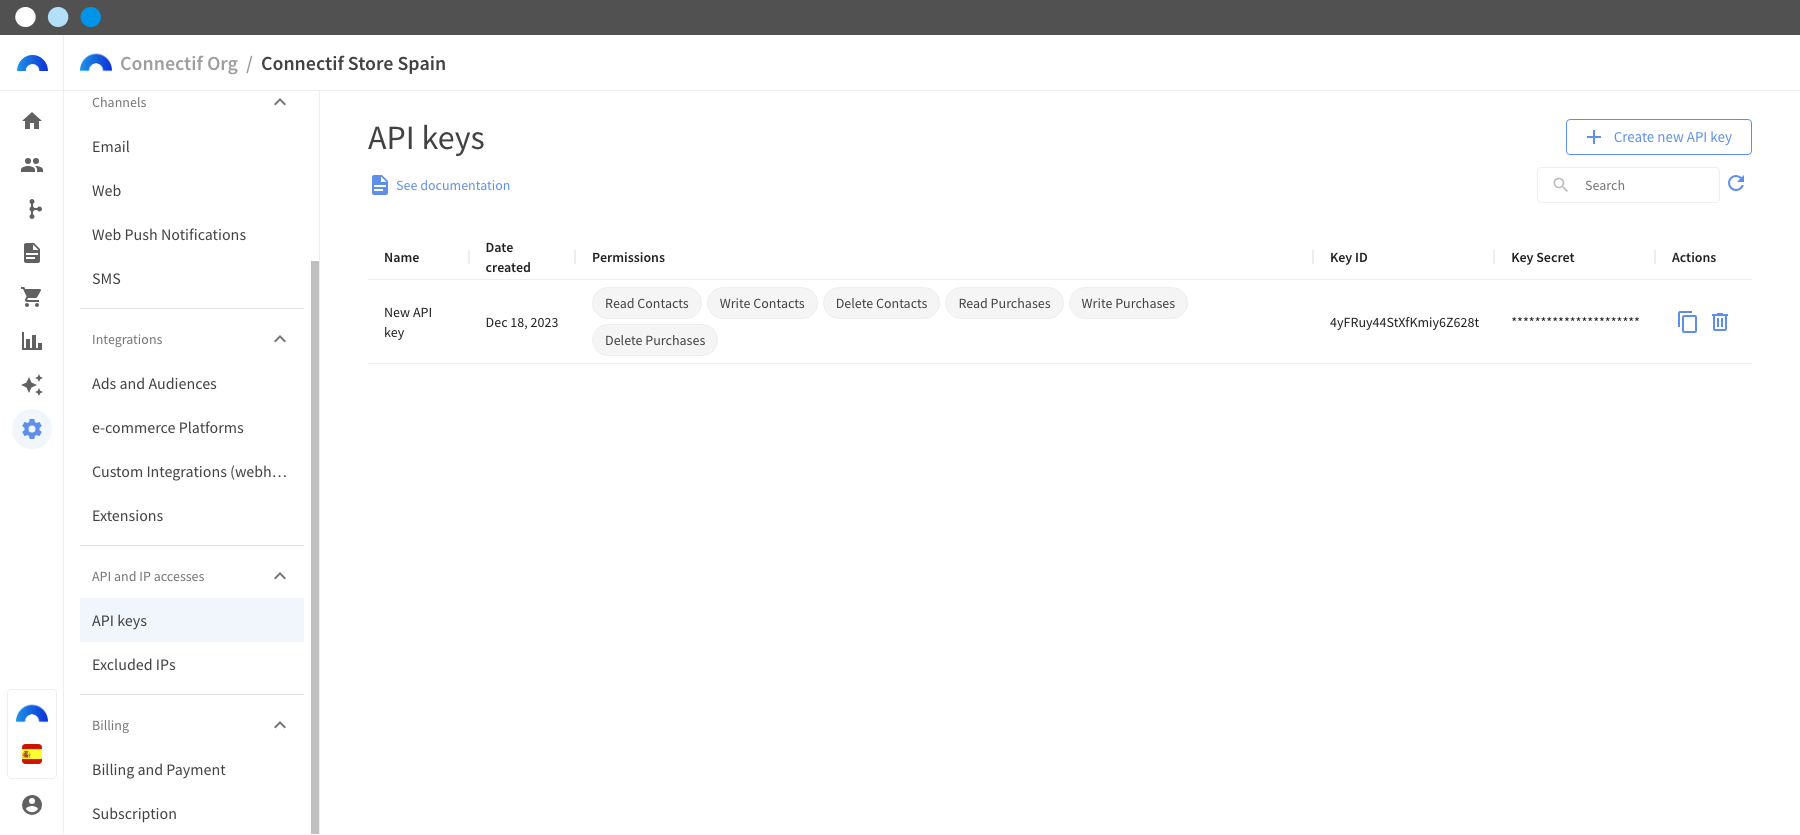
You may click on the Copy Key Id and Key Secret button to copy the API Key to the clipboard. An API Key is formed by the Key Id and the Key Secret separated by a : character, but you do not have to worry about this because on the clipboard you will have the API Key correctly formatted and ready to use.
I've got an API Key... How can I make an API request?
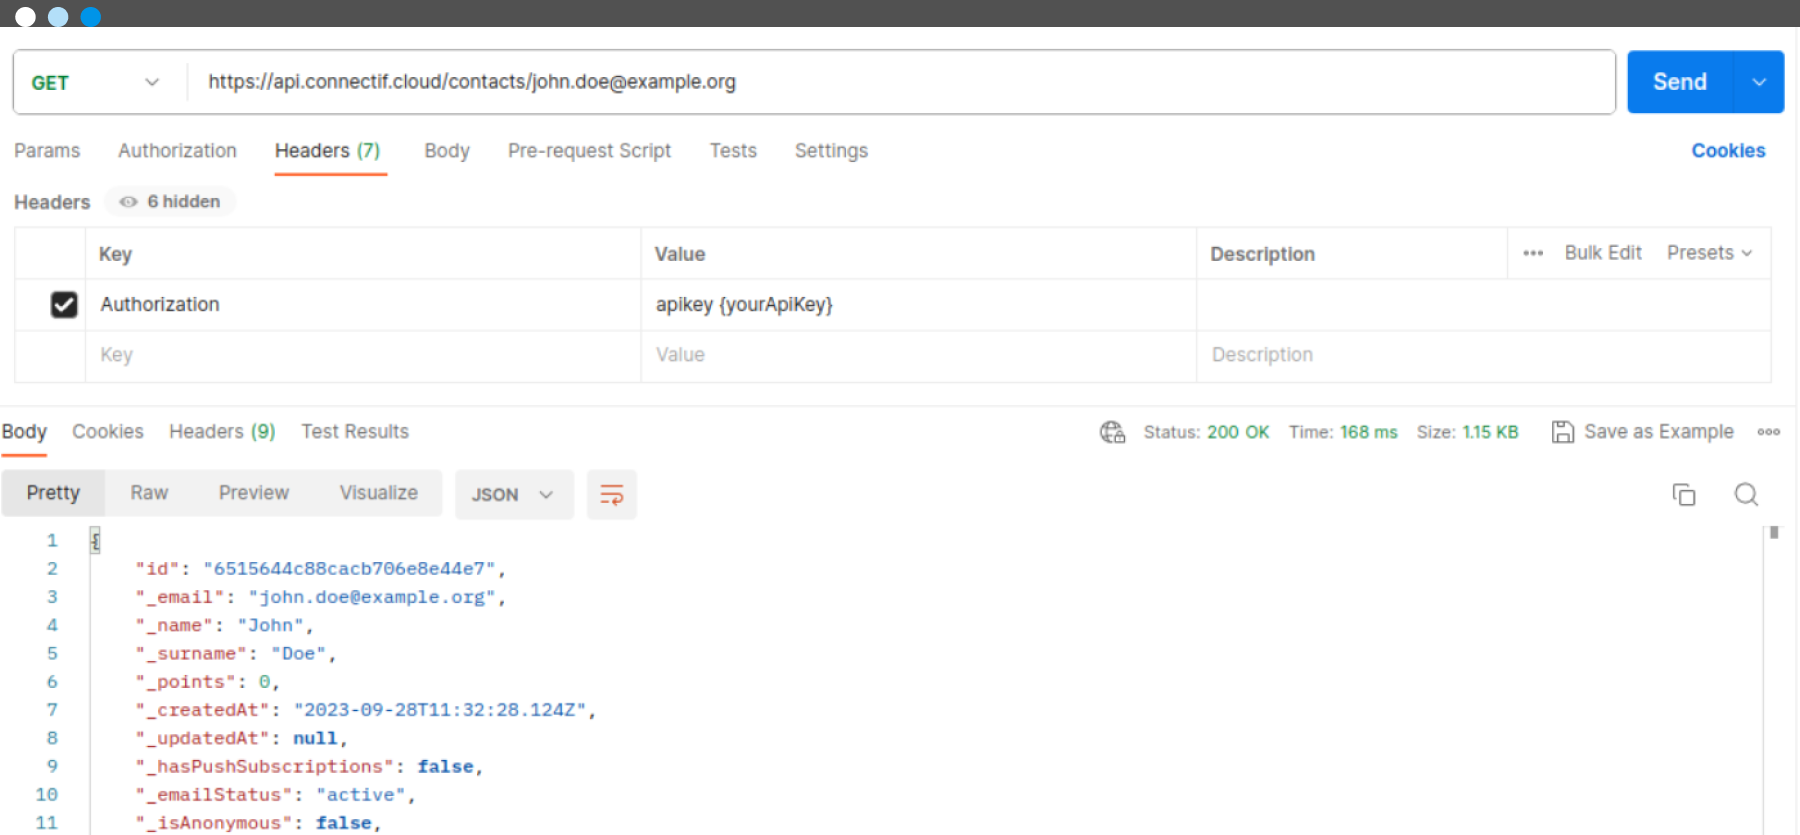
You can send your requests with an Authorization Header with a value like this: Authorization: apiKey {yourApiKey}.
Example with CURL:
curl -H "Authorization: apiKey {yourApiKey}" https://api.connectif.cloud/contacts/john.doe@example.org
Example with PostMan:
Important notes
Connectif HTTP API is open, it means that we do not have to add your IP's in a whitelist.